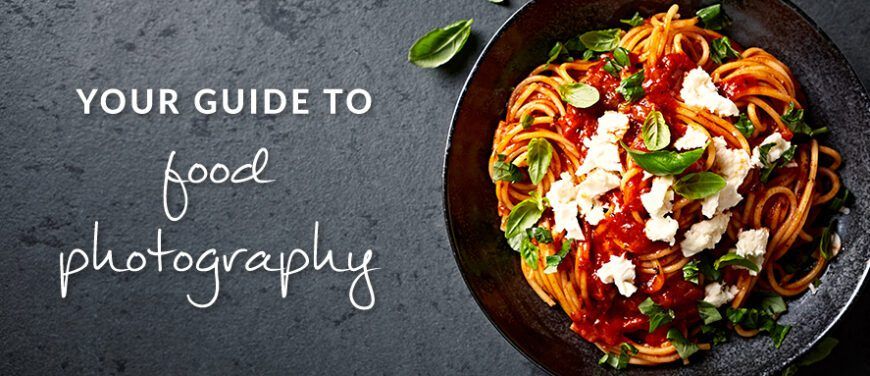
10 Tips for Food Photography
Are you a small business owner, running your own café, restaurant or bakery? Is increasing your online marketing one of your business goals?
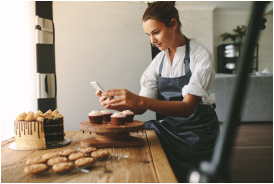
One of the most underrated tools in helping lift your online presence is food photography. In the age of social media and user-generated content, it’s much easier to do food photography than you might think. Stay engaged with existing customers and attract potential customers with a portfolio of stunning food photography.
We’ll help you get creative and capture your best photos with our 10-step guide to food photography:
1. Use natural light where possible.
Artificial light may conjure some flickering, shadows and unwanted effects. Capture food images near a window and on an overcast day if possible, as the light is softer on your food than artificial lighting.
2. Know your surroundings.
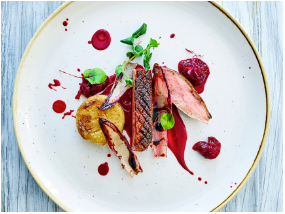
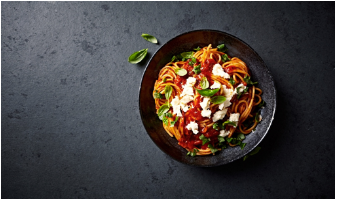
Either zoom into your food or use the surroundings as context. If you use the area around the food, think about table styling, for example, use a unique serving plate or add some greenery to add a calming effect.
3. Style your food.
Plate up and dress up your food in a way that’s visually appealing. Keep your portions small so you have a central point of interest and add a bit of garnish if you need to ‘spice’ up your dish. Amongst all this, don’t forget to photograph the food while it’s still fresh!
4. Consider colour and contrast.
Plate different colours together, for example, maybe add green next to whites or garnish your food with extra toppings. Another industry tip is to make use of negative or darker background. If your table’s grey or black, ensure your plate and food is the opposite (think pure whites or vibrant yellows and oranges).
5. Take pictures with depth of field.
Photograph images that have a narrow depth of field so that you have a shorter distant in focus, thus giving maximum attention to the food, as opposed to objects behind it. Controlling the aperture on your camera will usually determine your depth of field, with a larger aperture size (for example f/4) creating a blurred background, therefore focussing what’s in front.
6. Experiment with angles.
A frontal shot or one captured from above might not always showcase the best of your dish, so it’s worth experimenting with angles. For example, do a side diagonal shot of your plated main or perhaps capture the inside of a cut cake.
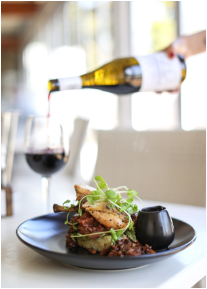
7. Add a human element.
Whether it’s someone hand pouring chocolate onto pancakes or a fork picking up food, having a human component makes it feels ‘real’ and not just a staged plate of food in a photoshoot.
8. Less is more.
While it’s nice to have some context in your food photography, minimise the clutter where you can. If you’re distracted by other images in the shot, it’s best to remove them from the camera’s view. Don’t forget that it’s your food you’re trying to sell.
9. Ensure serve ware and settings are clean.
Wipe down and clean up bits of mess that may make or break the image.
10. Take multiple shots.
It could be five or 15 photographic variations of the one dish. And that’s totally fine. It’s within these many copies that you’ll find the perfect one.
What’s next? Style your food, find the best lighting and angles, grab your camera or your smartphone and start shooting! With our 10 tips, you’ll be on your way to capturing food photography like a professional! Happy snapping!