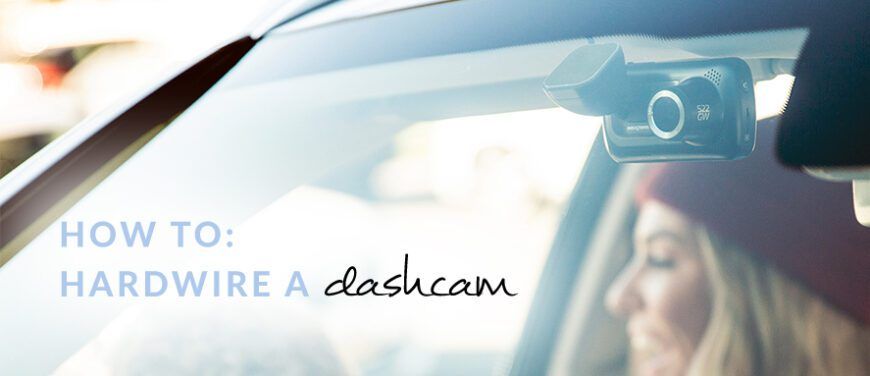
Simple Steps to Hardwire Your Dash Cam
 Making a dash cam purchase is the first step in ensuring confidence and added safety when you’re on the road. The next important step is installing your dash cam in your car. There are two main ways to install your dash cam in your car, they are:
1. Via the power socket
2. By hardwiring the dash cam
How do I connect to the 12-24V power socket?
The simplest way to power your dash cam is by connecting it to your car’s 12V or truck’s 24V power socket. Connecting the dash cam to the power socket is easy, fast and does not require any ‘installation’ so you can be on the road quickly. The main disadvantage of powering your dash cam this way is that you may need a spare socket to power or charge your other devices. The dash cam’s cable is also visibly plugged into the socket and may be subject to accidental tugs and disconnections.
How do I hardwire my dashcam?
Hardwiring your dash cam may sound daunting, however with our step-by-step guide, you can easily do it yourself. By hardwiring your dash cam, it’s installed more neatly by a connection to the fuse box and offers an ‘always on’ power connection. Every time your car is started, the dash cam will automatically power on. Another benefit of the fuse box connection is that your power socket is freed up for charging devices like your smartphone.
What are the steps for hardwiring a dash cam?
To hardwire a dash cam, you will need to purchase the hardwire kit (sold separately) compatible with 12-24V for car or truck installations. Total cable length is 5m so the cable can easily be hidden away for a neat installation. Find out how to hardwire your dash cam below:
1. Find a place that would best capture the view of the road. Position the suction mount and dash cam accordingly.
2. Plug the dash cam cable into the mount.
3. Slowly run your fingers under the heading of the car. Then tuck the cable under the heading so the cables run across the top of the windscreen and are out of view. All cars will have a small gap between the roof lining and the windscreen and the Nextbase power cable has been designed to fit in this gap.
4. Continue running and tuck the dash cam cable into the weather seal near the driver car door.
5. As you go along the side of the door, ensure to tuck the dash cam cable in so it’s out of sight. The cable should be tucked in until you reach the side of the fuse box.
6. The fuse box is usually underneath the dashboard. Remove the side or bottom cover of the fuse box.
7. Once you have access to the fuse box, connect the power cable to the relevant fuse tap.
8. In the fuse box, remove the existing fuse (the cigarette power socket fuse). Then insert the fuse into the fuse tap connector.
9. Once the fuse is in the fuse tap connector, simply insert the fuse tap connector into the empty socket.
10. Carefully place the fuse cover back on.

Carrying out a dash cam hardwire installation is expected to take up to 20 minutes. The process is ideal for those who are already well-equipped in DIY activities.
For a visual guide to help hardwire your dash cam, the below installation video from Nextbase will assist.
